By Roya Tarzaban, classically trained chef and senior recipe developer
Part of Culinary Tips: what years of recipe development have taught me about cooking.
Hey friends! Gray, sad, boiled beef... we've ALL been there. Let's talk about one of the most common things that goes wrong in the kitchen, and luckily, one of the easiest to fix.
You heat the pan, add the beef and wait for that big, happy sizzle. Instead you get a sad little hiss, and a minute later the meat is sitting in a pool of gray liquid that never seems to brown. Sound familiar? Don't worry, it happens to all of us, and it's one of the things I've seen most often in hands-on cooking workshops.
Here's why it matters: that dark, golden crust, and the brown bits it leaves in the pan, are where so much of the flavor in a stew, braise or stir-fry comes from.
The good news? A steamed, gray sear almost always comes down to three simple things. Once we understand what's actually happening in the pan, we can fix every one of them.
What a sear actually is
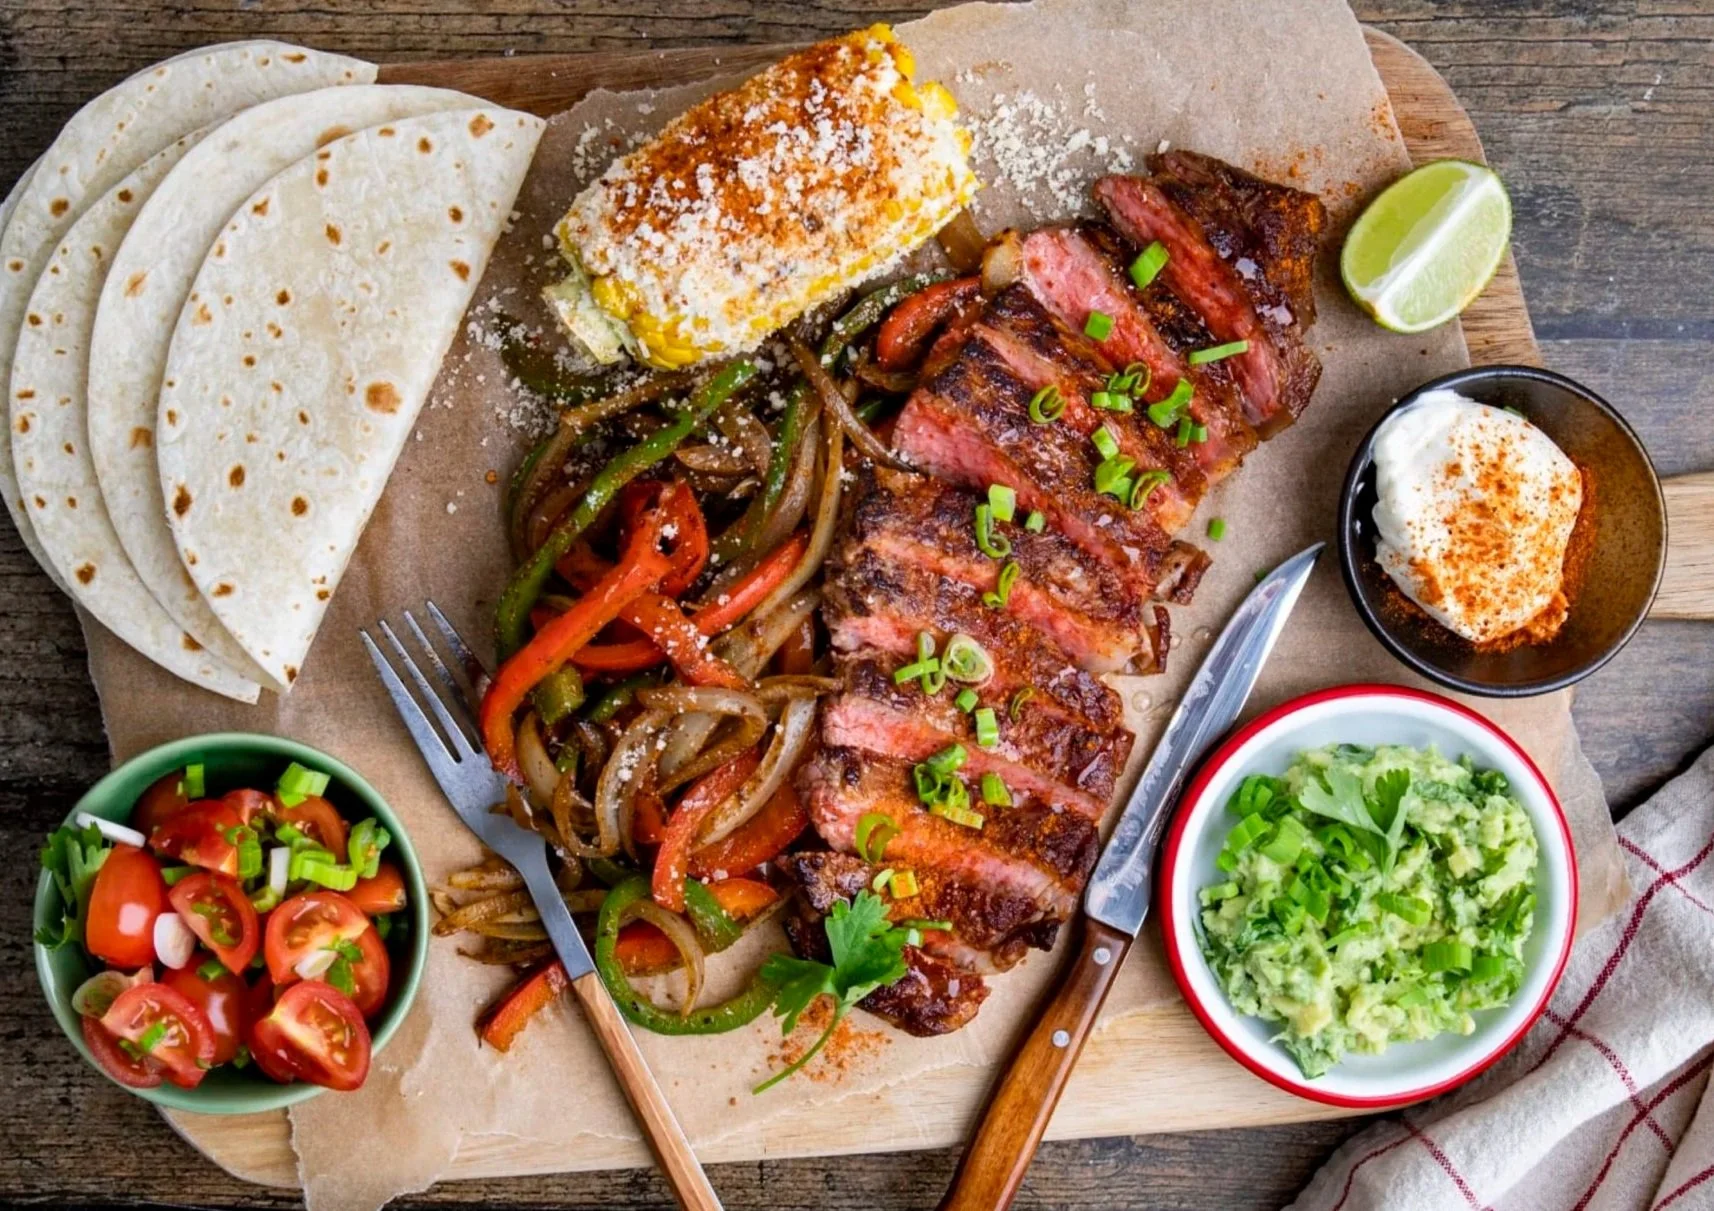
A sear is the Maillard reaction at work. It sounds all fancy and scientific, but it's simply what happens when proteins and sugars meet high heat. It's the same magic that browns toast, roasts coffee and gives a smash burger its unbelievable crust, and it creates hundreds of new flavor compounds: all those savory, nutty, deeply meaty notes we love.
The catch is temperature. Browning really gets going once the surface of the meat is well above the boiling point of water, at around 280–330°F (140–165°C) and up. Water, on the other hand, can't get hotter than 212°F (100°C)... unless it's in a pressure cooker, but that's a whole other article :).
So as long as there's water on the meat or in the pan, the surface is stuck near 212°F, and the pan's energy goes into boiling it off instead of browning the beef. Only once the surface dries out can it climb high enough for a real sear.
The three reasons your beef stews
1. The meat is wet
Beef straight from the package carries surface moisture, and meat that's been rinsed, thawed or marinated in something watery carries even more. Every drop has to boil off before browning can start, and while it's boiling, the meat is steaming.
The fix: grab some paper towels and pat the beef really dry, pressing firmly on every side. If there's time, leave it uncovered on a plate in the fridge for an hour or so; the cold, dry air will dry the surface even more. Season just before it goes into the pan, because salt sitting on raw meat for a few minutes pulls moisture back to the surface.
2. The pan isn't hot enough
When cold meat hits a pan, the pan's temperature drops straight away. If it wasn't fully hot to begin with, it drops below the point where moisture flashes off, and the meat starts to simmer in its own juices.
This is where I see the most hesitation, especially on induction cooktops. Without a flame to look at, a number on the dial can start to feel like a rule, and plenty of people are a little nervous of high heat. Here's the thing: that number is a starting point, not a law. If the meat is boiling instead of searing, no problem at all. Let's turn up the heat until we hear it sizzle. Getting too fierce? Slide the pan off the heat for a moment, then bring it back. Let your intuition be your guide; your eyes and ears will tell you more than any setting can.
The fix: preheat longer than you think. Heat the empty pan over medium-high to high heat for a few minutes, and oil the meat instead of the pan so nothing smokes while it heats. The beef should sizzle loudly the second it lands. If it doesn't, take it out and give the pan another minute.
3. The pan is overcrowded
This one is so common, and so understandable: it feels faster to cook everything at once, right? But every piece of beef releases moisture and soaks up heat. Pack the pan full and the moisture has nowhere to go, the temperature crashes, and we end up braising the beef in a shallow puddle.
The fix: cook in batches. Leave some space between pieces, so steam can escape and every piece gets direct contact with the hot metal. Brown one batch on each side, move it to a plate, let the pan heat back up for a moment, then brown the next. It takes a few extra minutes, and it makes a bigger difference to the finished dish. Tried, tested and tasted... this is the one step we never skipped in the test kitchen.
Which pan sears best, and why
The pan we choose decides how much the temperature drops when the meat goes in, and how fast it bounces back. Heavy pans store more heat and hold steady; thin, light pans lose heat fast and make searing much harder work.
| Pan | How it handles heat | Best for searing | Watch out for |
|---|---|---|---|
| Cast iron | Heats slowly, then holds a lot of heat | Thick steaks, stew beef, anything you want a deep crust on | Uneven heating if preheated too fast; needs a full preheat |
| Carbon steel | Heats faster than cast iron, holds heat well, lighter | Stir-fries, steak strips, quick high-heat cooking (most woks are carbon steel) | Needs seasoning, like cast iron; acidic sauces can strip it |
| Tri-ply or clad stainless steel | Heats evenly, holds heat reasonably well | Searing before making a pan sauce; the brown bits (fond) stick and deglaze beautifully | Meat sticks if you try to move it too soon. It will release when it's fully seared. |
| Enameled cast iron (Dutch oven) | Heavy, holds heat well | Browning beef for stews and braises in the same pot you'll cook them in | Many makers advise against high heat with an empty pot; preheat over medium |
| Nonstick | Releases food easily, but most coatings shouldn't be overheated | Eggs, fish and delicate foods, not hard searing | High heat can damage the coating; food releases so easily that little fond forms |
For most home kitchens, a 12-inch cast iron or stainless skillet and a heavy Dutch oven will cover almost every searing job. Cook a lot of stir-fries? A carbon steel wok or skillet is a lovely addition.
How to sear beef, step by step
Take the chill off. Let the beef sit out for 15–20 minutes while you prep everything else. Slightly less cold meat drops the pan temperature less.
Dry it well. Pat every side firmly with paper towels until the surface feels tacky rather than wet.
Season right before cooking. Salt and pepper generously. If the recipe calls for a light coating of flour, toss it on now; it helps with browning and thickens the sauce later.
Preheat the pan. Heat the empty pan over medium-high to high heat for 3–5 minutes (cast iron may need a little longer). No oil in the pan yet; it'll reach searing heat without smoking.
Oil the meat, not the pan. Toss the beef with just enough high-smoke-point oil, like vegetable, canola or avocado oil, to coat it thinly. Test with one piece: we want an immediate, loud sizzle.
Add the meat in a single layer. Lay each piece down away from you so any hot oil doesn't splash back, and leave space between the pieces.
Leave it alone. This is the hard part... resist the urge to peek! Don't move, poke or flip the beef for the first 2–3 minutes. It'll stick at first, then release on its own once the crust forms. If it won't let go, it isn't ready yet.
Turn and brown the other sides. Go for a deep brown, not just a light tan.
Move it out and repeat. Transfer each batch to a plate, let the pan heat back up for 30 seconds, then sear the next batch of oiled beef.
Keep the brown bits. Don't wash that pan! The fond stuck to the bottom is pure flavor; scrape it up when the liquid goes in.
Pro tips
Listen as well as look. A steady crackle means the beef is searing; a bubbling hiss means it's steaming.
Turn the meat with tongs, not a fork. Piercing it lets juices run into the pan, and that's moisture we've worked hard to keep out.
Set a plate next to the stove before you start, so each batch comes out the moment it's ready.
Searing for stews vs. stir-fries
For stews and braises: build the flavor base
In a stew, the beef spends a long time simmering in liquid, so the sear isn't about texture. It's about building flavor that carries the whole pot. For a classic beef bourguignon for example, pat the beef really dry, season it, toss it in a little flour, and brown it in small batches for 2–3 minutes until it's deeply browned. Then lift it out so the mushrooms, onions and carrots can cook in the fond it left behind.
When the beef goes back in with tomato paste, stock and herbs and simmers for 30–35 minutes, all that browning melts into the sauce. In stews, lean toward darker: a deep mahogany crust is exactly what we're after.
For stir-fries: fast, hot and in small amounts
In a stir-fry, the beef cooks through in minutes, so the sear has to happen fast. For a Mongolian-style beef stir-fry, marinated steak strips go into a very hot pan for 3–4 minutes until browned and caramelized, before the sauce goes in.
Marinated meat is wetter than plain meat, so let any extra marinade drip off and keep the pan really hot. (The baking soda is there to keep the beef tender; that's a trick worth its own article.)
Troubleshooting: common searing questions
Why is my beef sticking to the pan? Usually because it's being moved too soon. Raw meat grips hot metal at first, then lets go as the crust forms. Give it another minute. Still stuck after 3–4 minutes? The pan probably wasn't hot enough when the meat went in.
My pan is smoking a lot. Is that too hot? A wisp of smoke as the oiled meat hits the pan is normal. Heavy, billowing smoke means the oil is burning: turn the heat down a touch, and use an oil with a higher smoke point, like vegetable oil. Extra-virgin olive oil and butter burn quickly at searing temperatures, so save them for later in the recipe.
The brown bits in the pan turned black. Can I still use them? Deep brown fond is flavor; black fond is bitter. If the bottom of the pan has burned, wipe it out before the onions and other vegetables go in. Next time, lower the heat slightly between batches and add a splash of oil if the pan looks dry.
Does searing "seal in the juices"? Nope, that's a myth. A crust doesn't make meat waterproof, and seared meat loses moisture just like unseared meat. We sear for flavor and texture, not juiciness. Juiciness comes from not overcooking.
The takeaway
A great sear comes down to a dry surface, a properly hot, heavy pan, and enough space for steam to escape. Get those three right and the Maillard reaction does the rest, giving us a deep, nutty, caramelized crust on the beef and a pan full of brown bits to build a sauce on. It's a small change in technique that makes a big change in flavor. And when that first bite of deeply browned, saucy beef hits? you know it's sooo good!
Happy cooking, friends!
Roya Tarzaban is a classically trained chef and senior recipe developer who has developed and tested more than 200 recipes for home cooks, from everyday family meals to premium gourmet menus, and taught hands-on cooking workshops. Through Culinary Tips, she shares the whys and how-tos behind the techniques that make the biggest difference in home cooking.
